The MOTORBIKE FUEL TANK
Motorcycle Fuel Tank Skin

Group: Kloud9
Interior Design
Natalia Dou
Jeremy Hizkia
Architectural Studies
Kelvin IP (ME)
Zoey SONG
Industrial Design
Ben LE
Lornia SHI
Yu Jin Son
Tauqir ULLAH
Zeran WANG
The task: Replicating a motorcycle fuel tanks in a Group
(As individuals, create one-third of it with aluminum.)
Fuel Tank: CB550 by Andrew Wallace

Material:
Aluminum Sheet
Plywood Sheet (selected method to create the template)
Human effort AND time AND patience
Method:
Creating a template via slicer and pattern making
Software:
Fusion 360


Autodesk Slicer

Hardware:
Laser Cut Machine

Tools:


Tools:

/
First Group Meeting
 |
| 6 out of 9 of us showed up! |
created a facebook group
planning the Schuele
Discuss possible ways to create the skin
planning the Schuele
Discuss possible ways to create the skin
1 CNC to create a 1:1 scale tank as a male mold
-pros
Avoid free forming
High accuracy
-cons
Can’t be CNC in 1 go, must be cut multiple times to form a 1:1 fuel tank due to machine limitation
Huge Error, cutting a 1:1 model in couple time to assemble might involve huge mechanical error and human error in the process
Time-consuming to create a CNC model
Costly
2 Creating a template via slicer and pattern making (suggested)
-pros
Easier to make relatively
Lower cost
Required less time to make the template
-Cons
Involve free forming, as a balsa skeleton is not hard enough to be hammered on
Free forming, have lower accuracy COMPARE with a CNC template which allows being traced
The decision of method making the template is not made, and the team decided to research on each method proposed.
/
CNC Machine: a solid 1:1 template (not used)

The benefits of this method are that it does not require the template processed by Fusion 360 and Autodesk Slicer and can be done faster in terms of preparation time.
Limitation, the model is too big to cut in 1 go, and CNC cannot perform undercut.
Martin, one of our tutors, suggested to CNC the fuel tank in multiple panels and glue them into 1 fuel tank after printing them. This would have the same result as printing a 1:1 fuel tank directly.
The alternative method was discussed is to create a CNC female mold, which is to create a bed to hammer on. With the same method printing the CNC template in multiple panels and glue them together. This allows us to hammer the aluminum inside the mold, which in some way similar to create a blister.
This method also enjoys the benefits of avoiding free forming with higher accuracy. (Or fewer skills involved? Maybe)

/
Skeleton Template:
Creating a template via slicer and pattern making (used)
This method involves putting the rhino file of the fuel tank into Fusion 360 with the plugin tool Slicer. It is relatively lower cost and easy to assemble as the steps are shown and can be followed easily on slicer. (Number is marked on the cuts which make assemble easier too, e.g. Z1, Y10-2)
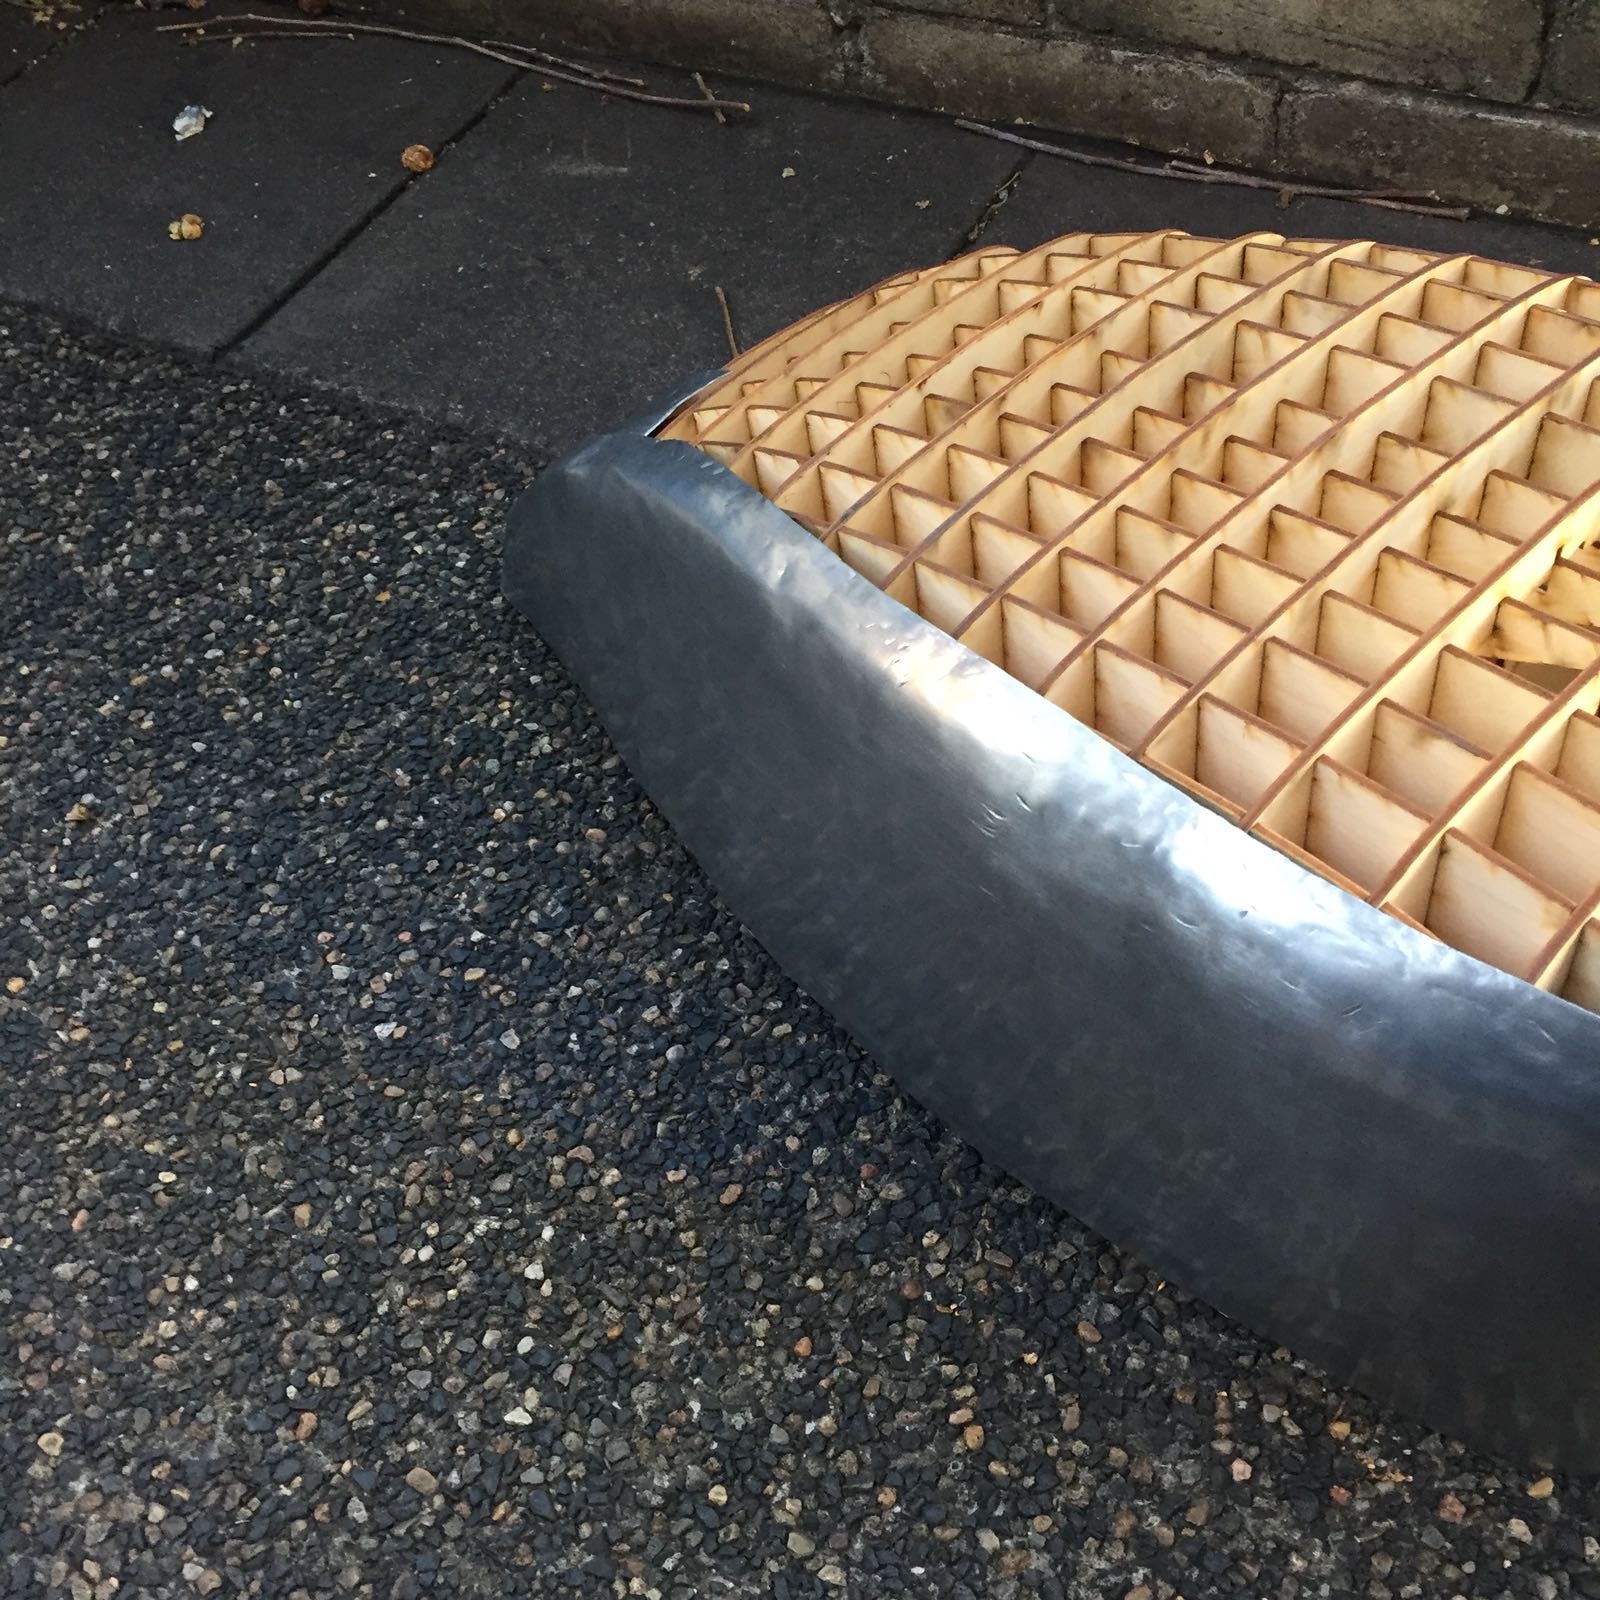
We originally chose to use 6mm balsa as our team thought the thickness of the material would affect the template accuracy, but we used 3mm plywood instead for high strength of the template with more cuts for better results. We also considered using masking tape to wrap the template to soften the edges of the slicer template for a smoother surface.
 |
| Plywood template |
Pattern making would also be involved in this method, which uses a paper to identify where the curves are. This would transfer more accurate information from the template into the aluminum sheet when free forming for better accuracy. This also avoids damaging the model by directly hammering on the plywood material.
 |
| Pattern making with paper tracing the curves |
/
Process
Process
The final decision is to Creating a template via slicer and pattern making over CNC due to time, cost and unable to book the machine.
We thus started with creating the template in the slicer and printed it out with laser cut.

We originally used the fringe 2.7mm as we thought it would be tangible but we realize it would be impossible to assemble the entire template as it does not allow any movement, bending within the template. Later we used 3mm and glue the template with a hot glue gun.
|
| Editing the file in Rhino |
 |
| Using the slicer to prepare the file for laser cut |

Laser Cutting Process
We originally used the fringe 2.7mm as we thought it would be tangible but we realize it would be impossible to assemble the entire template as it does not allow any movement, bending within the template. Later we used 3mm and glue the template with a hot glue gun.
 |
| Test for the size of the fringe to create a good template |
 |
| 3mm seems loose but is used at last |
 |
| Prepare to assemble to the template |
 |
| Before |
 |
| Process |
 |
| Gluing with the hot glue gun on the bottom |
|
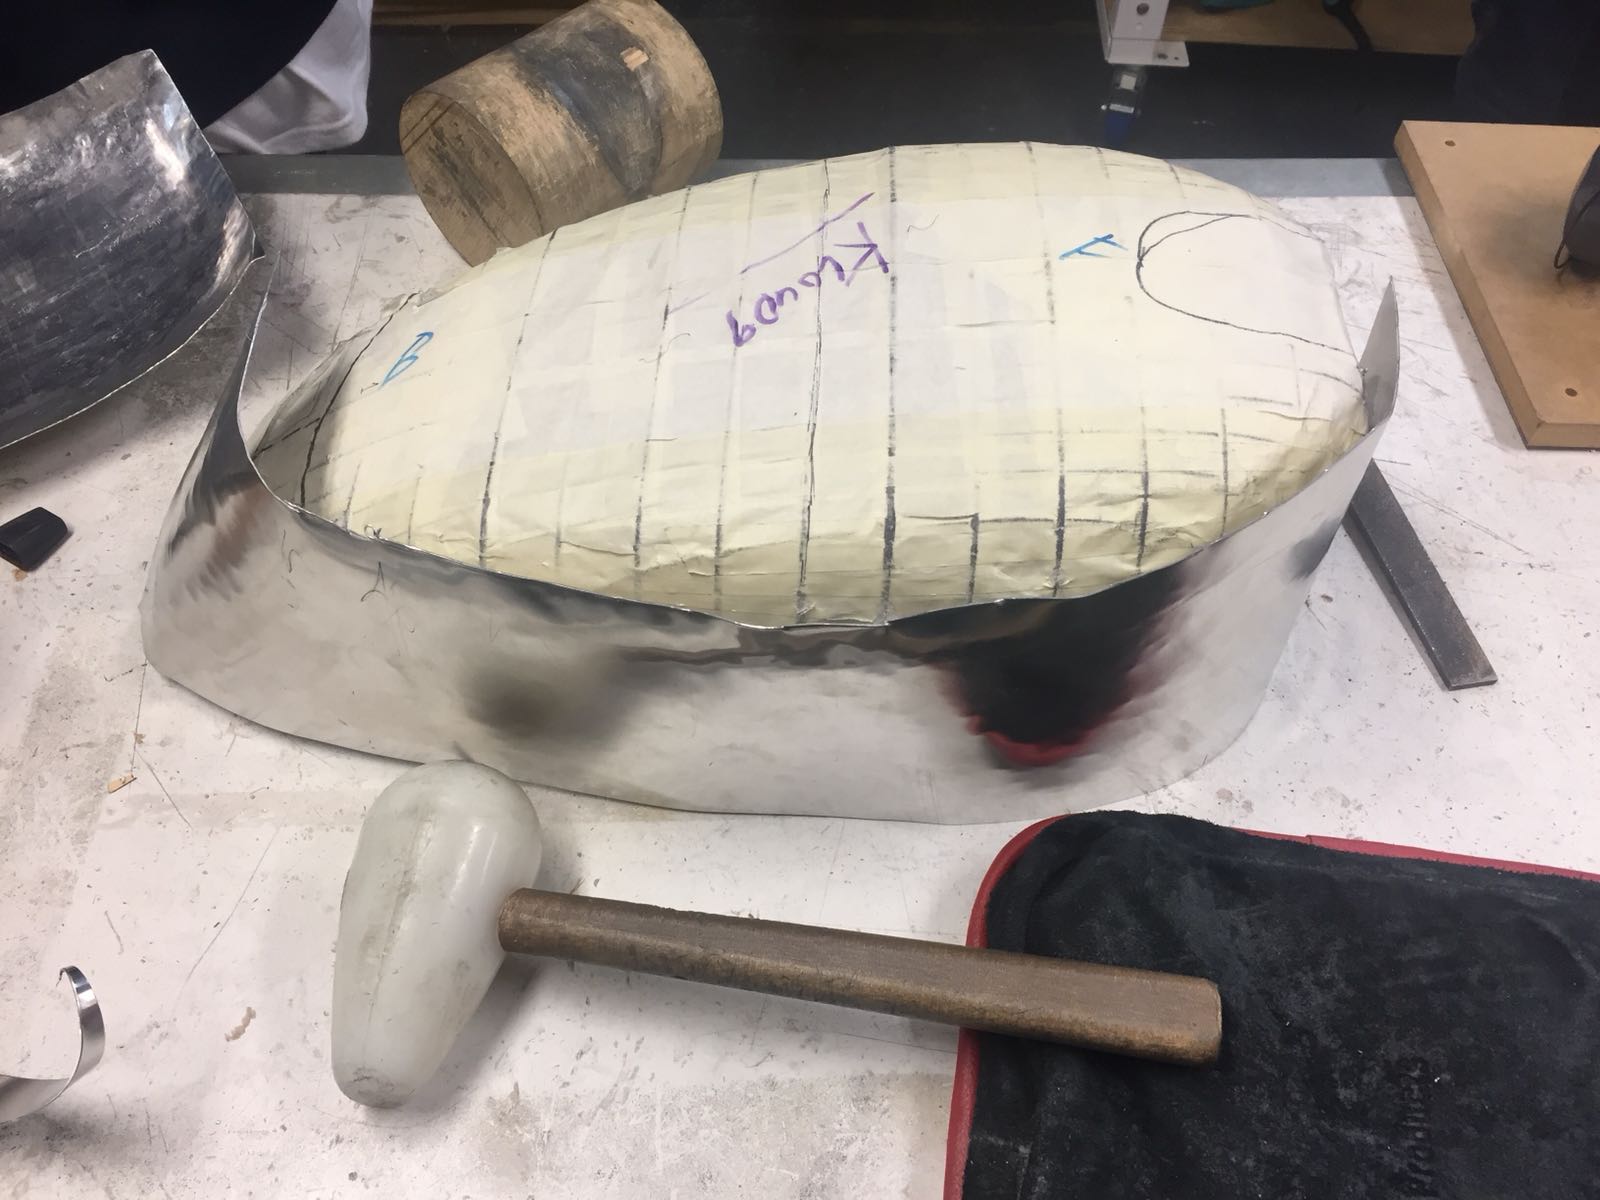
| Template before wrapped with masking tape |
We then created a base with corrugated cardboard by tracing the shape of the fuel tank and used masking tape to wrap the template.
The time-lapse below shows the process with assemble the plywood template and wrapping it with masking tape. It is relatively easy and not time-consuming if done correctly.
/
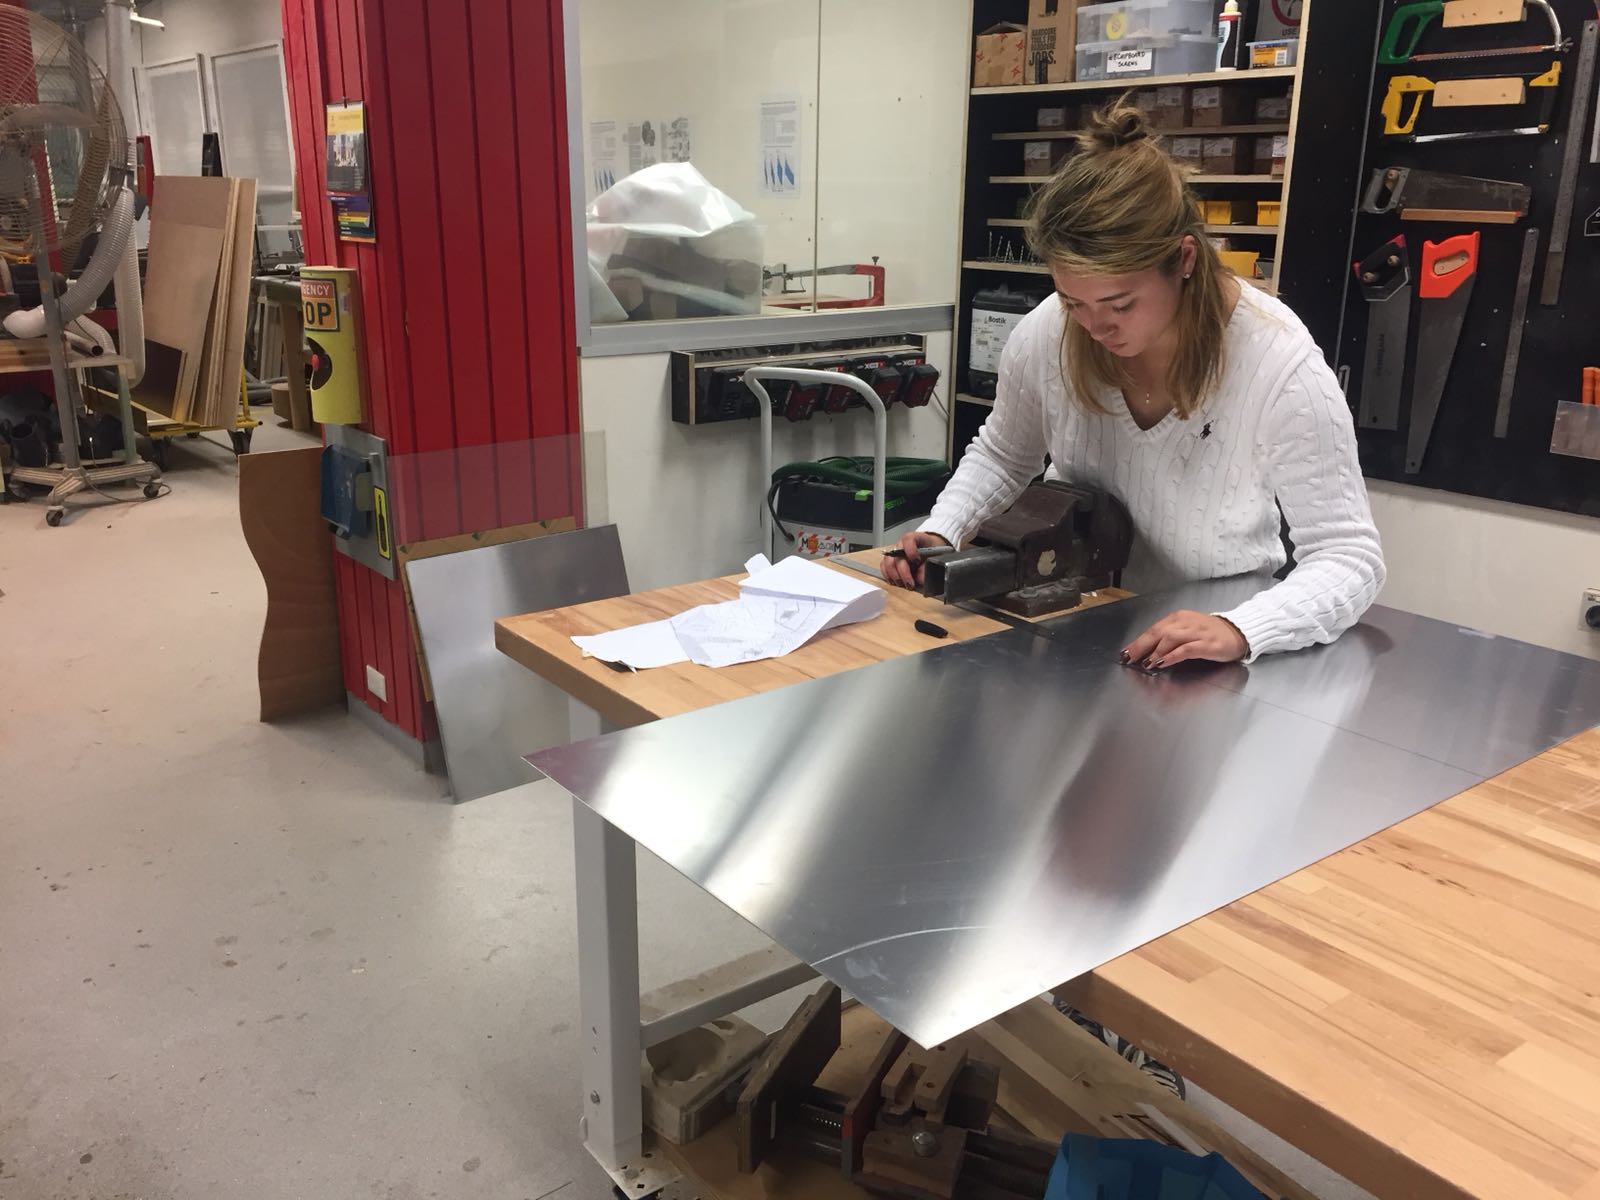
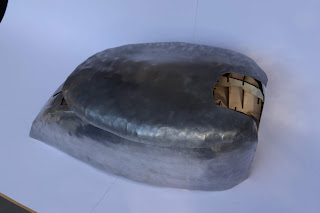
The fuel tank is thus divided into 3 parts, the top, and 2 sides (mirrored). The top used the blister method while the sides are completely free forming by English wheel, mallet, taping and pattern making. I am responsible for the side.


First used a piece of paper to trace the shape of the surface and identify the curves. A mistake was made here that the deep curve in the front, should either be made into a separated piece or combine with the top part. And the pattern tracing should also allow some space of error as aluminum sheet DO NOT behave like paper, in terms of bending, overlapping, especially on deep edge, curves as the metal will stretch and deform, bend in the process.
 |
| Pattern making with paper |
We then cut the aluminum sheet in the shape of the paper and with some extra space on the curve sides for errors, curving the surface and matching with the top part.
 |
| Trimming the aluminum sheet into few smaller piece |
 |
| Cutting the sheet into the shape traced from the pattern making paper |
The tools and dolls I used are shown below.

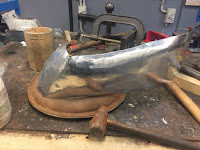
I first focus on the back part of the aluminum sheet as it creates a reference for the whole aluminum sheet when comparing with plywood template, which I could identify what to do next. I prefer using mallet instead of the English wheel due to there are more than 1 curves in the area and using mallet allow a high degree of freedom to shape the form with multiple curving surfaces. (I.e. on the top and bottom edges, the end, middle area, 4 in total). It would be wise to avoid touching the middle and stretching that area in the beginning as it would deform and bend the entire aluminum sheet. (Which I did)
 |
| Using a wood mallet to stretch the metal at the back curve to create a reference |
 |
| shrinking the 2 edges |
The last and final part is the front part of the deep curve. After consulting Gabe, he suggested cutting it into a separate piece as the curve is too deep and might result in deforming the rest of the sheet in the free forming process. I decided, instead of cutting it out, I made a half cut which allows it bends more without breaking the other parts. I highly suggest if anyone doing the same part again, make it a separated piece as it would make your life easier and less time-consuming. The part is shown in the below image
.

.
/
The model is almost 100% fit with the template even the sheet bent in the process. It also matched with other part s of the fuel tank made by my team.


It is later polished 3 grade of sandpaper, 80, 320 and 800, from the roughest one to the finest one. So it can remove scratches and then make a fine surface. I added water to the surface to make sanding easier. After that, apply on the surface to make it shiny by wiping it until the black stuff is gone.


 |
| I used the brasso one for this time |
 |
| DO NOT apply it directly on the metal like this, instead, drop it on the tissue paper and rub it |
 |
| Keep wiping to let the chemical reaction help until the black stuff is completely gone |
 |
| And the result should look like this after applying 2 times |

/


Comments
Post a Comment